 Integration

Zapier
Description
Zapier is an automation tool that lets you create workflows between your various apps. By integrating Zapier with Routine, you will be able to link Routine to over 5000+ different apps and services like Gmail, Pipedrive, Slack, Notion, Twitter, Mailchimp etc.
Catalog
Routine has built readymade Zap integrations that you can safely re-use, allowing you to set up a dozen workflows in just a few minutes.
You can check out Routine’s Zaps catalog which contains workflow automations that have been already set up to work with Routine.

Usage
Create a Zapier account
If not already the case, visit http://zapier.com and sign up.
Use a Zap from the catalog
A catalog of dozens of pre-defined Zapier automations is available for you to use readymade Zaps through the following instructions:
Pick a Zap
Log in to the services the Zap uses
Turn the Zap on
That’s it, the automation is ready for you to use.
Create your own Zap
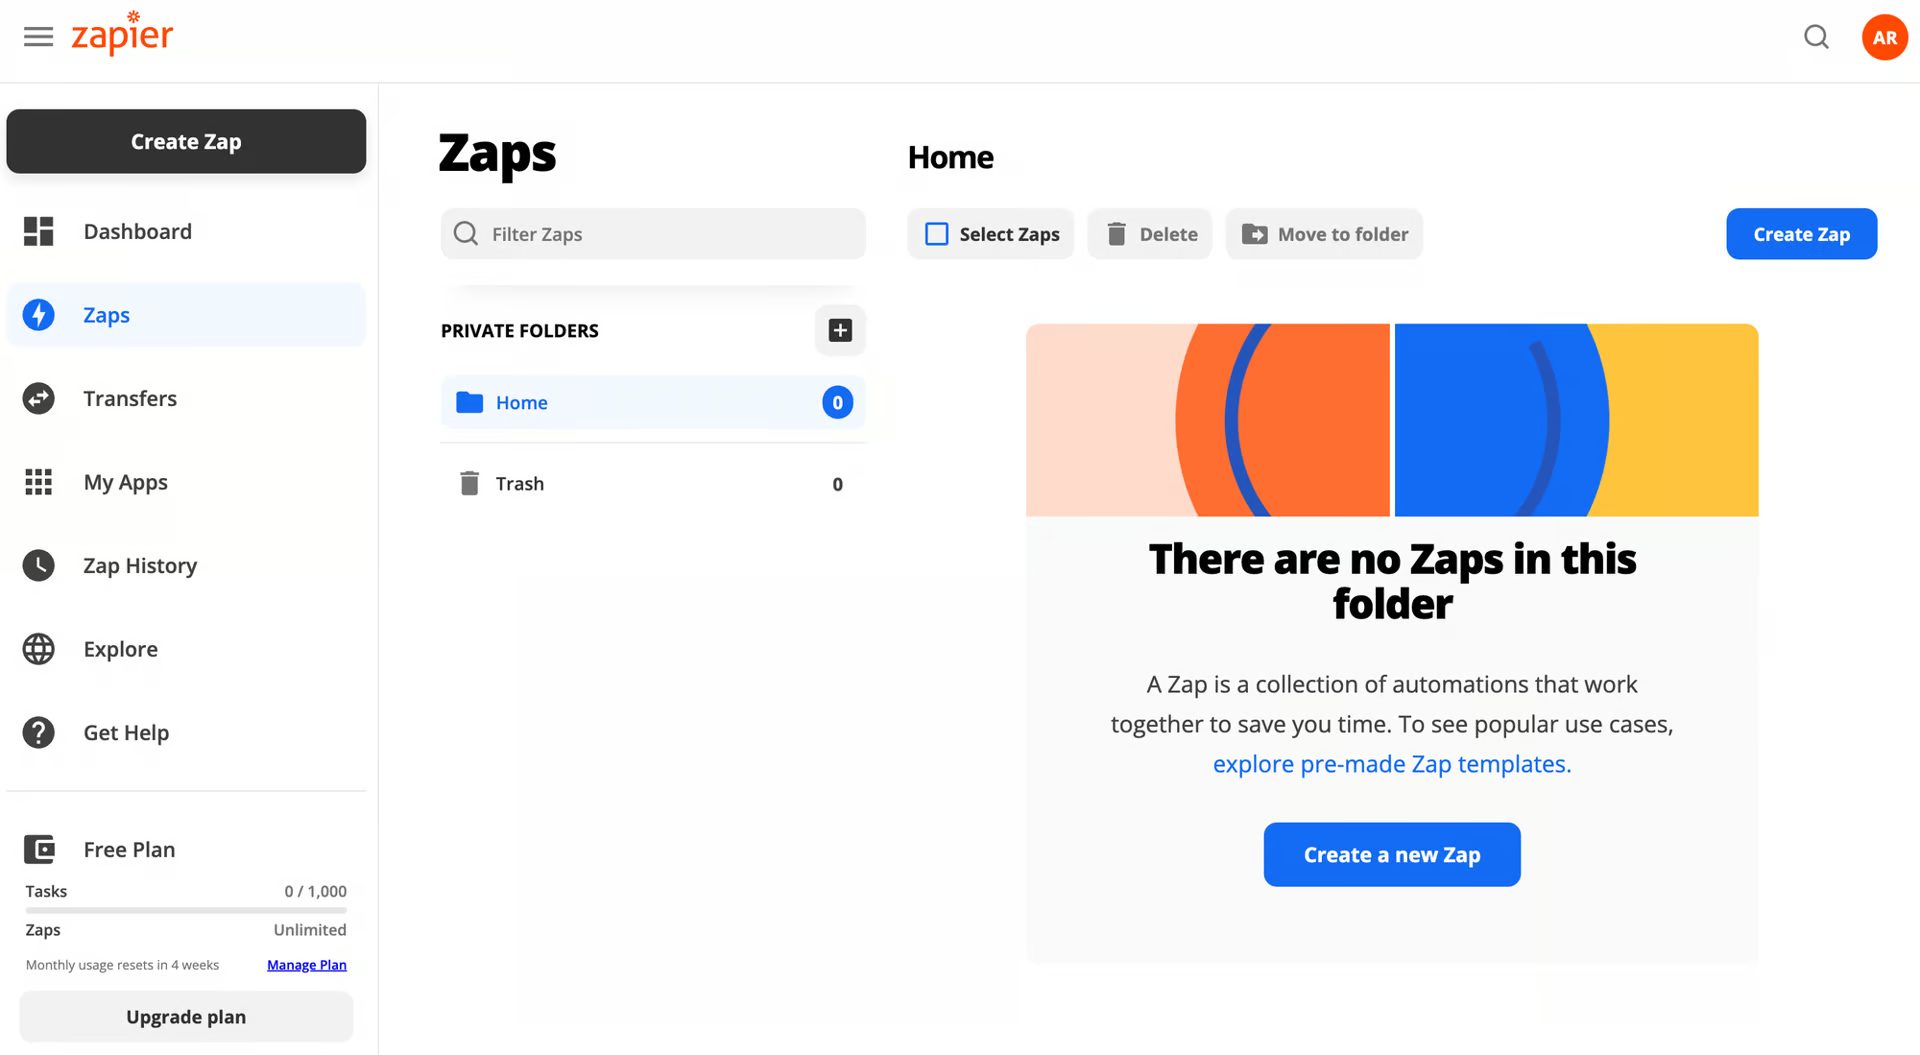
In the Zaps section, you will find all the Zaps (Zapier workflows) that you have set up.
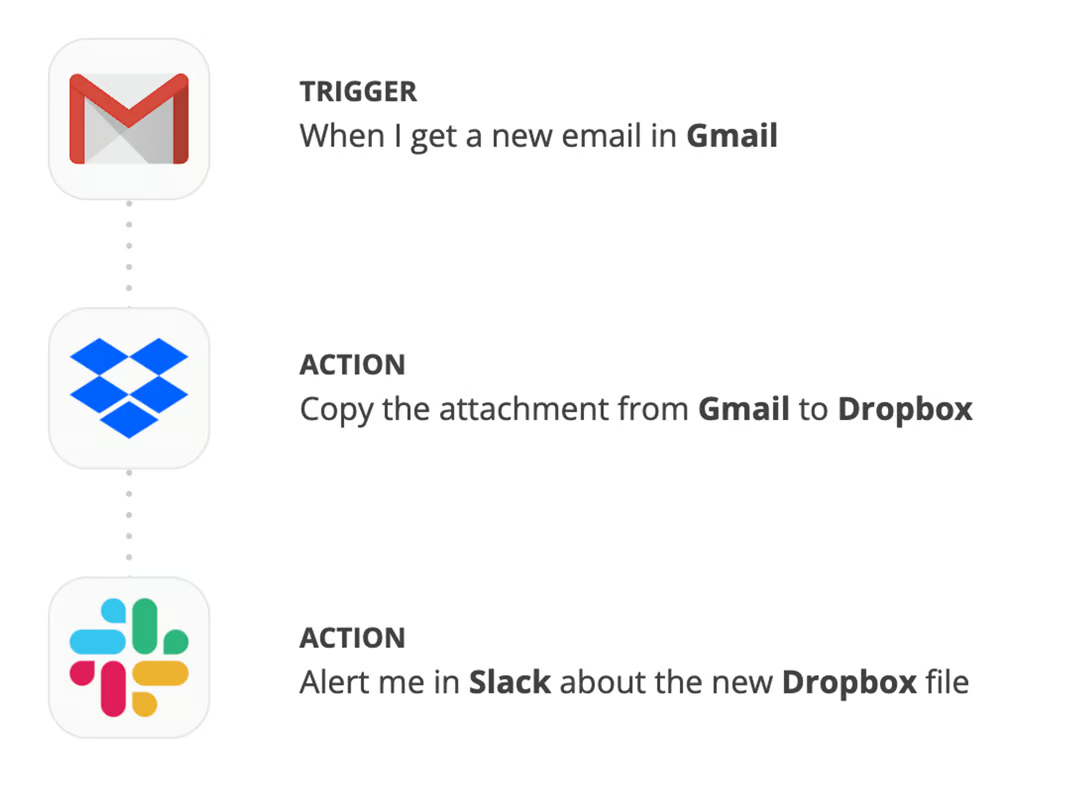
Zaps are composed of two types of components: a trigger and a series of actions.
⚠️ At the moment, Routine does not provide triggers, only a single action: Create a task.
For the purpose of this example, we will use Gmail starring mechanism as the trigger to create a task in Routine.
Use the
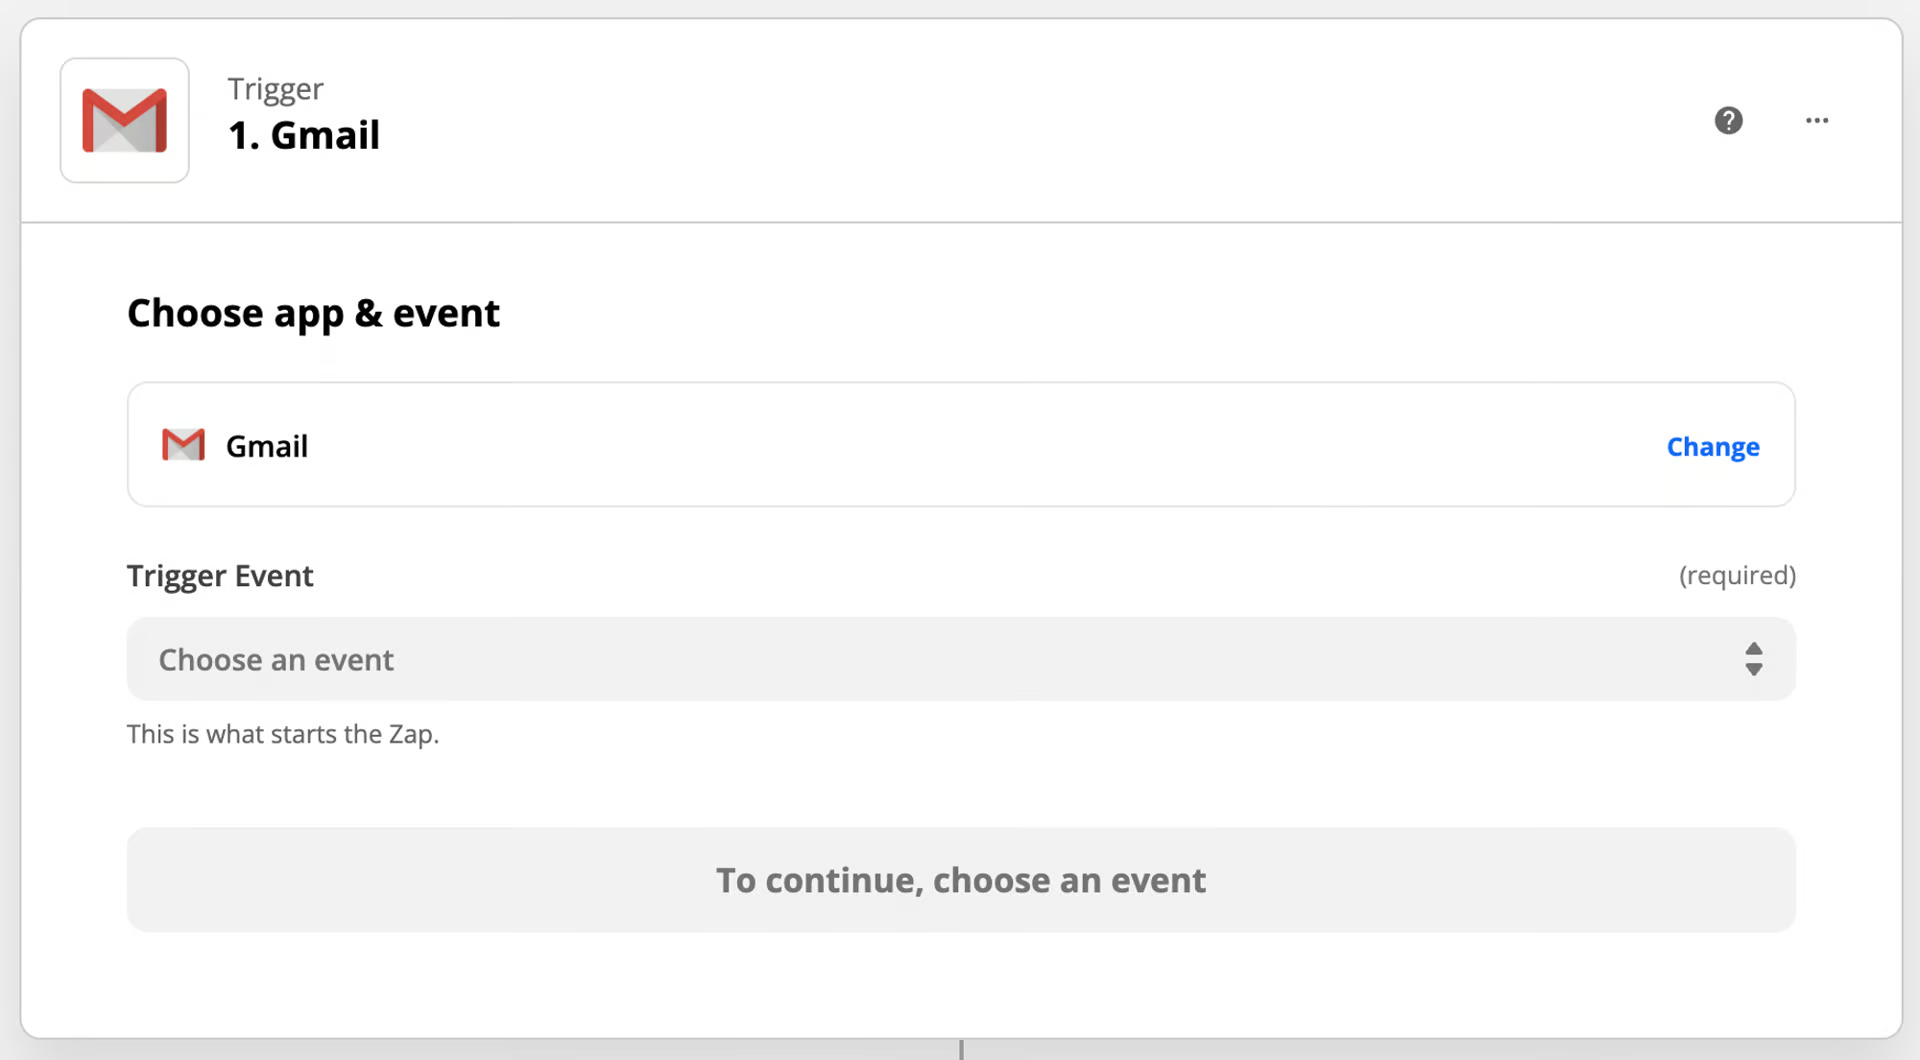
Create Zapbutton to create a new ZapFirst, in the trigger section, search and select Gmail
Then select New Starred Email as the trigger event
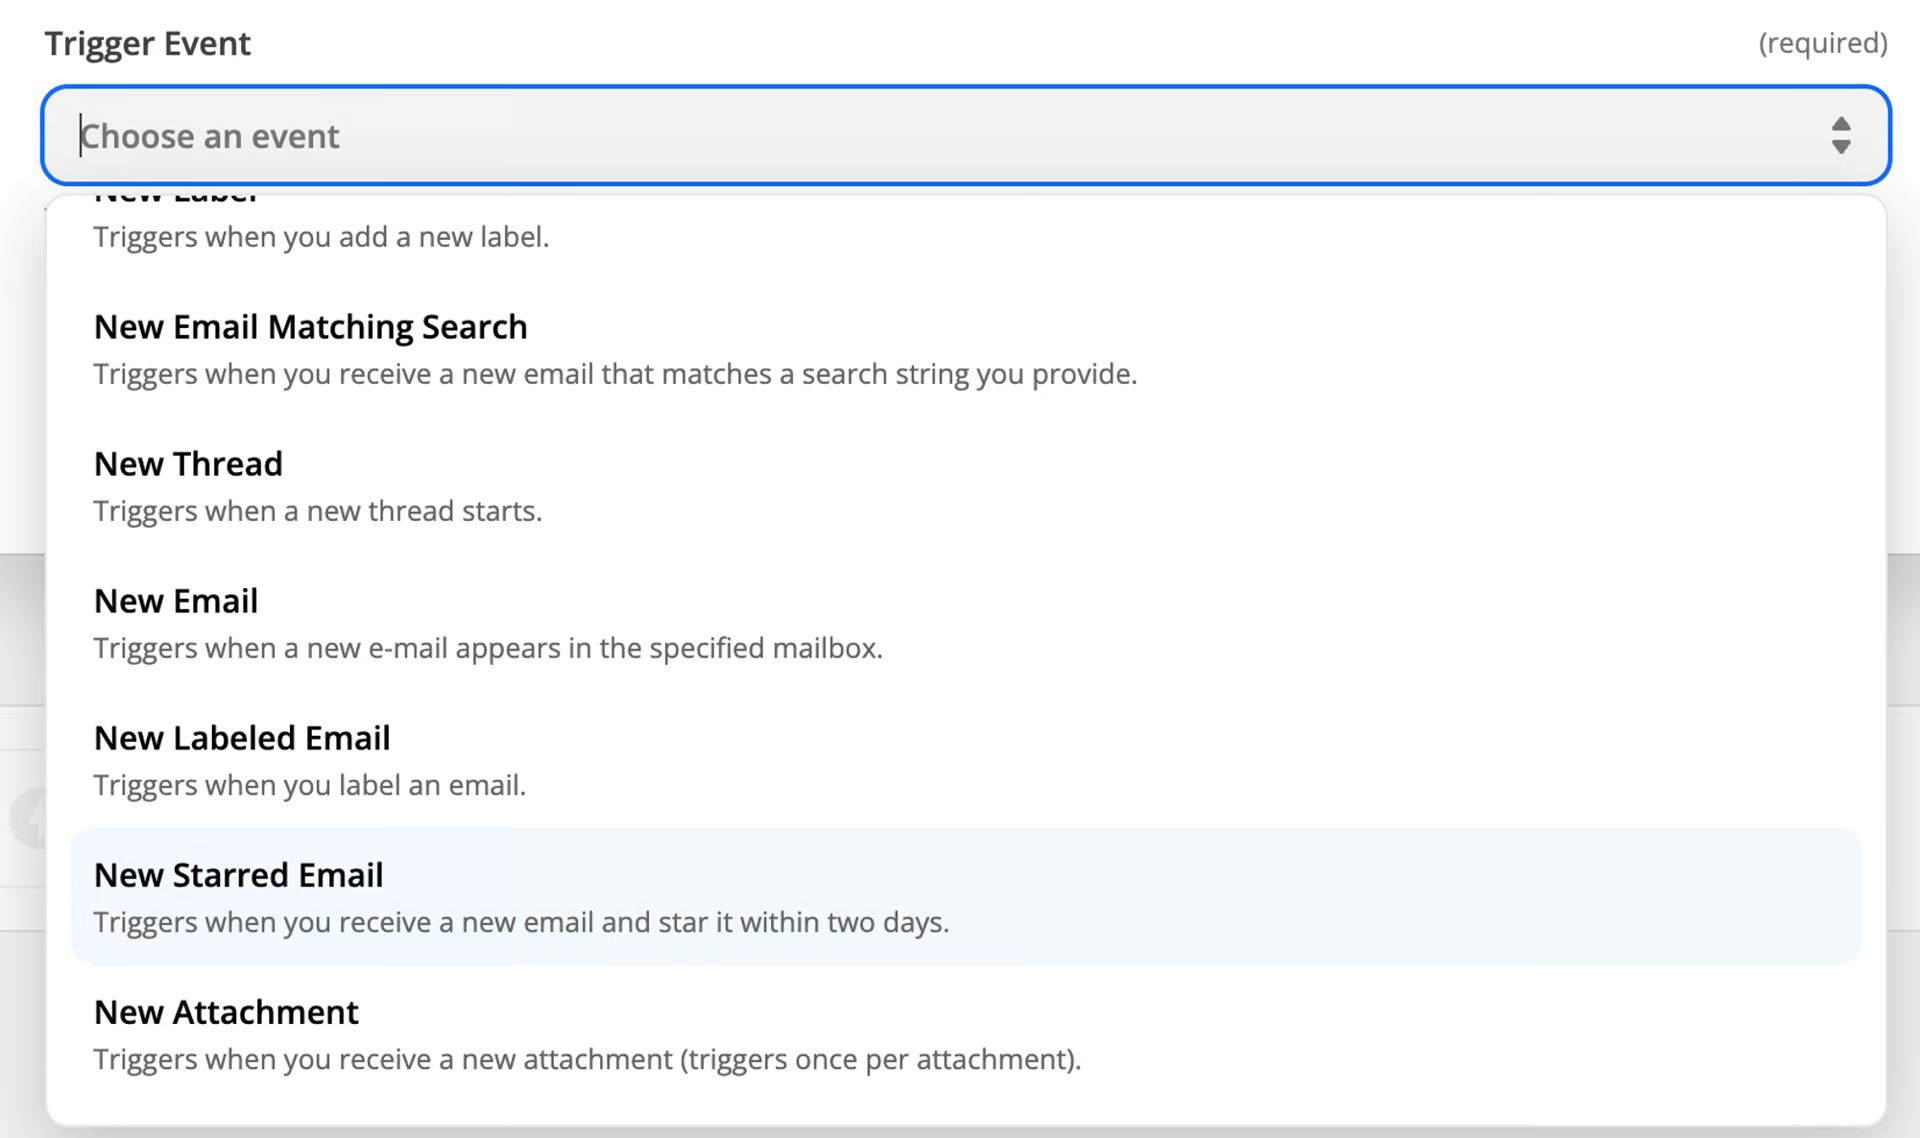
At the point, you need to sign in to Gmail for Zapier to detect when you star an email.
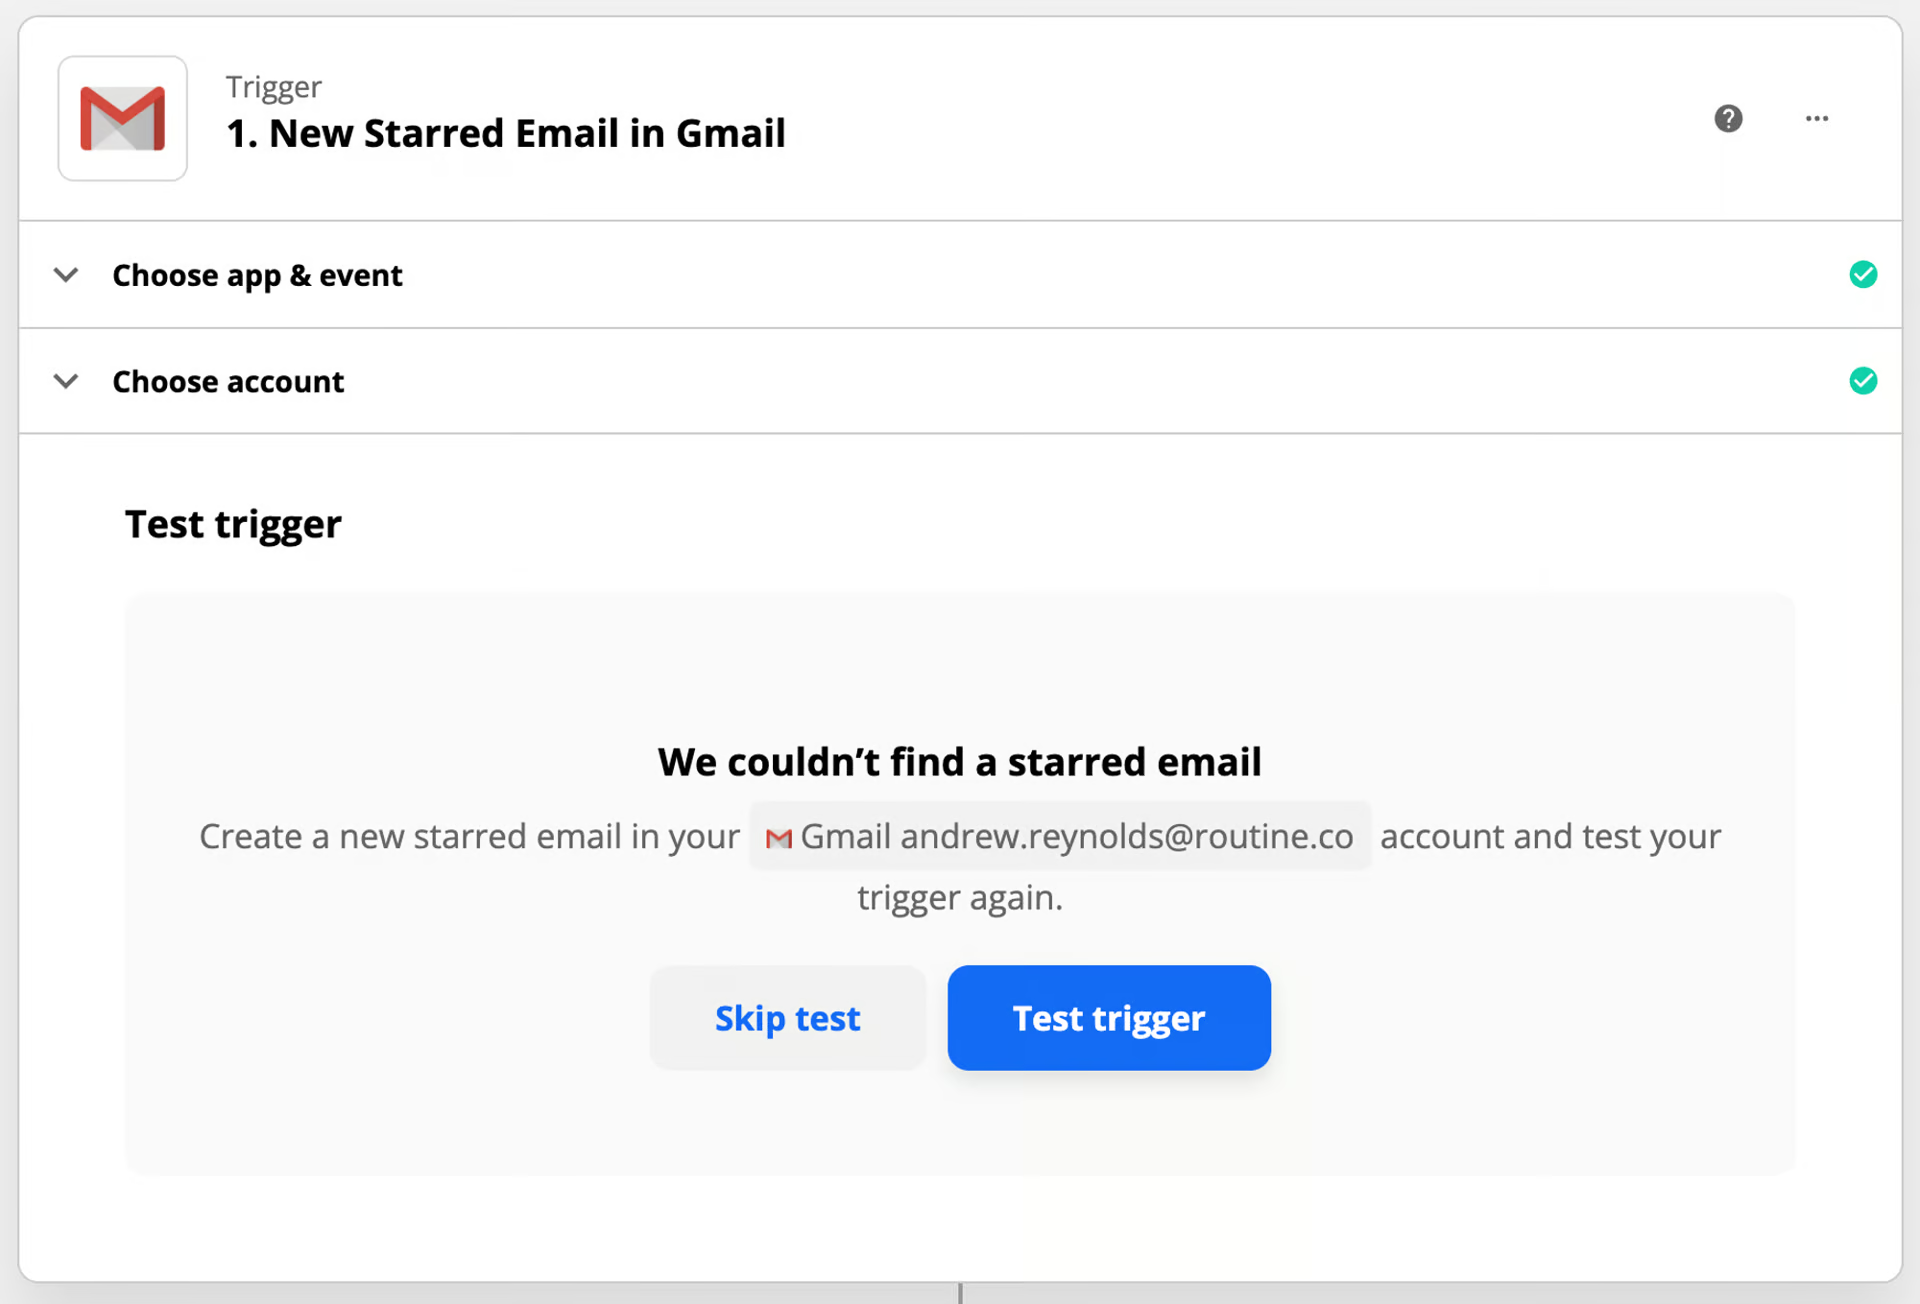
Finally, go to Gmail and star an email to validate Zapier. Come back to Zapier and click the Test trigger button. Zapier should detect the email you starred and validate the trigger step of your zap.
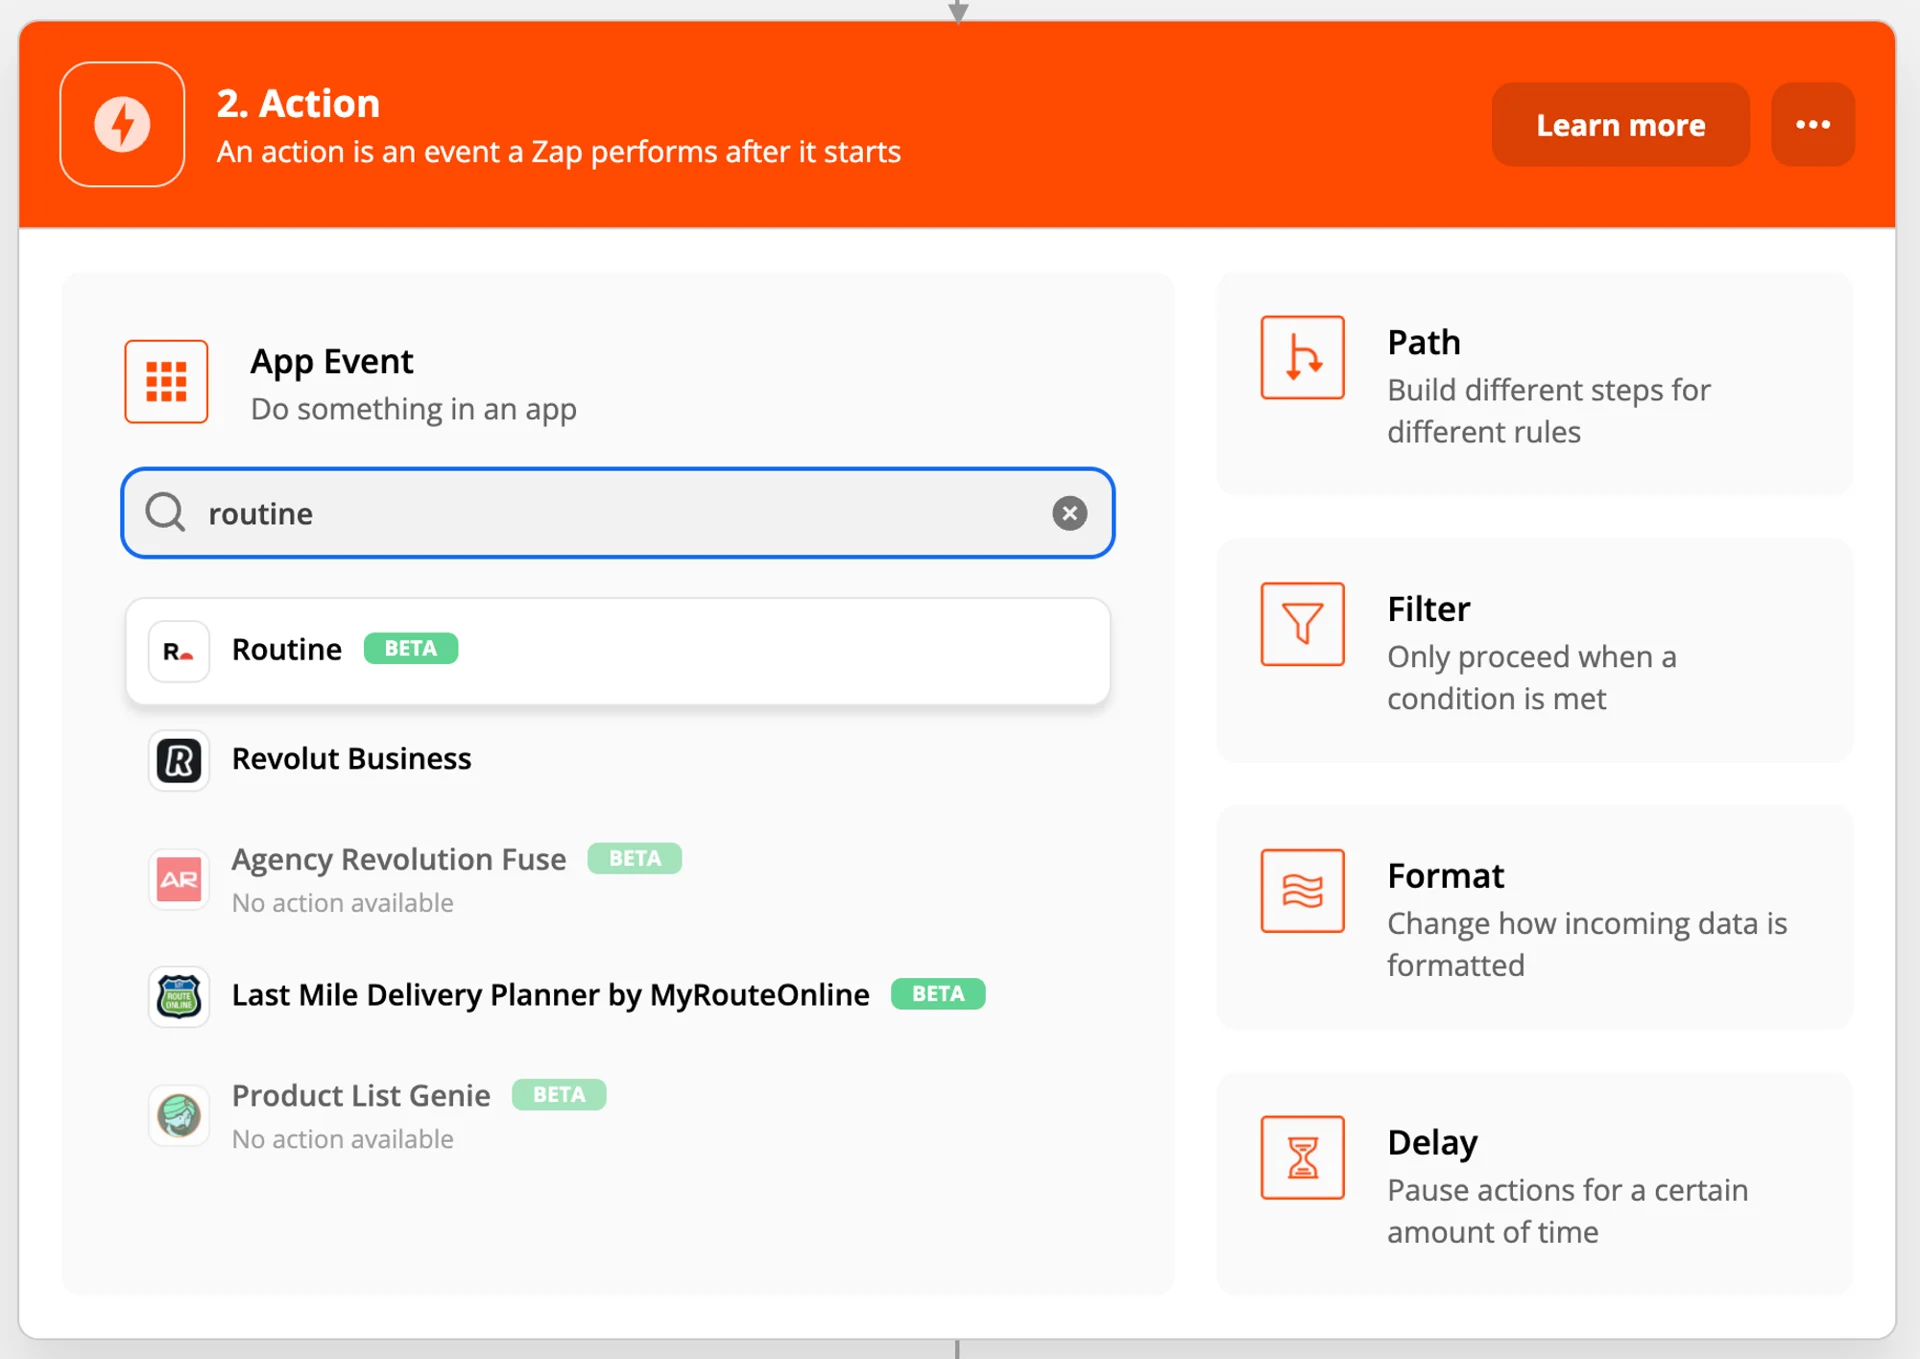
We can now move on to the actions part of the automations.
In this case, search for and select Routine as the action screen
Select Create task as the action event
Then, you will need to sign in to Routine
When clicking
Sign in to Routine, a new window (see below) should pop up:
Go back to the Routine app where you should see an overlay like this
Click on
Allowto grant Zapier the permission to interact with Routine
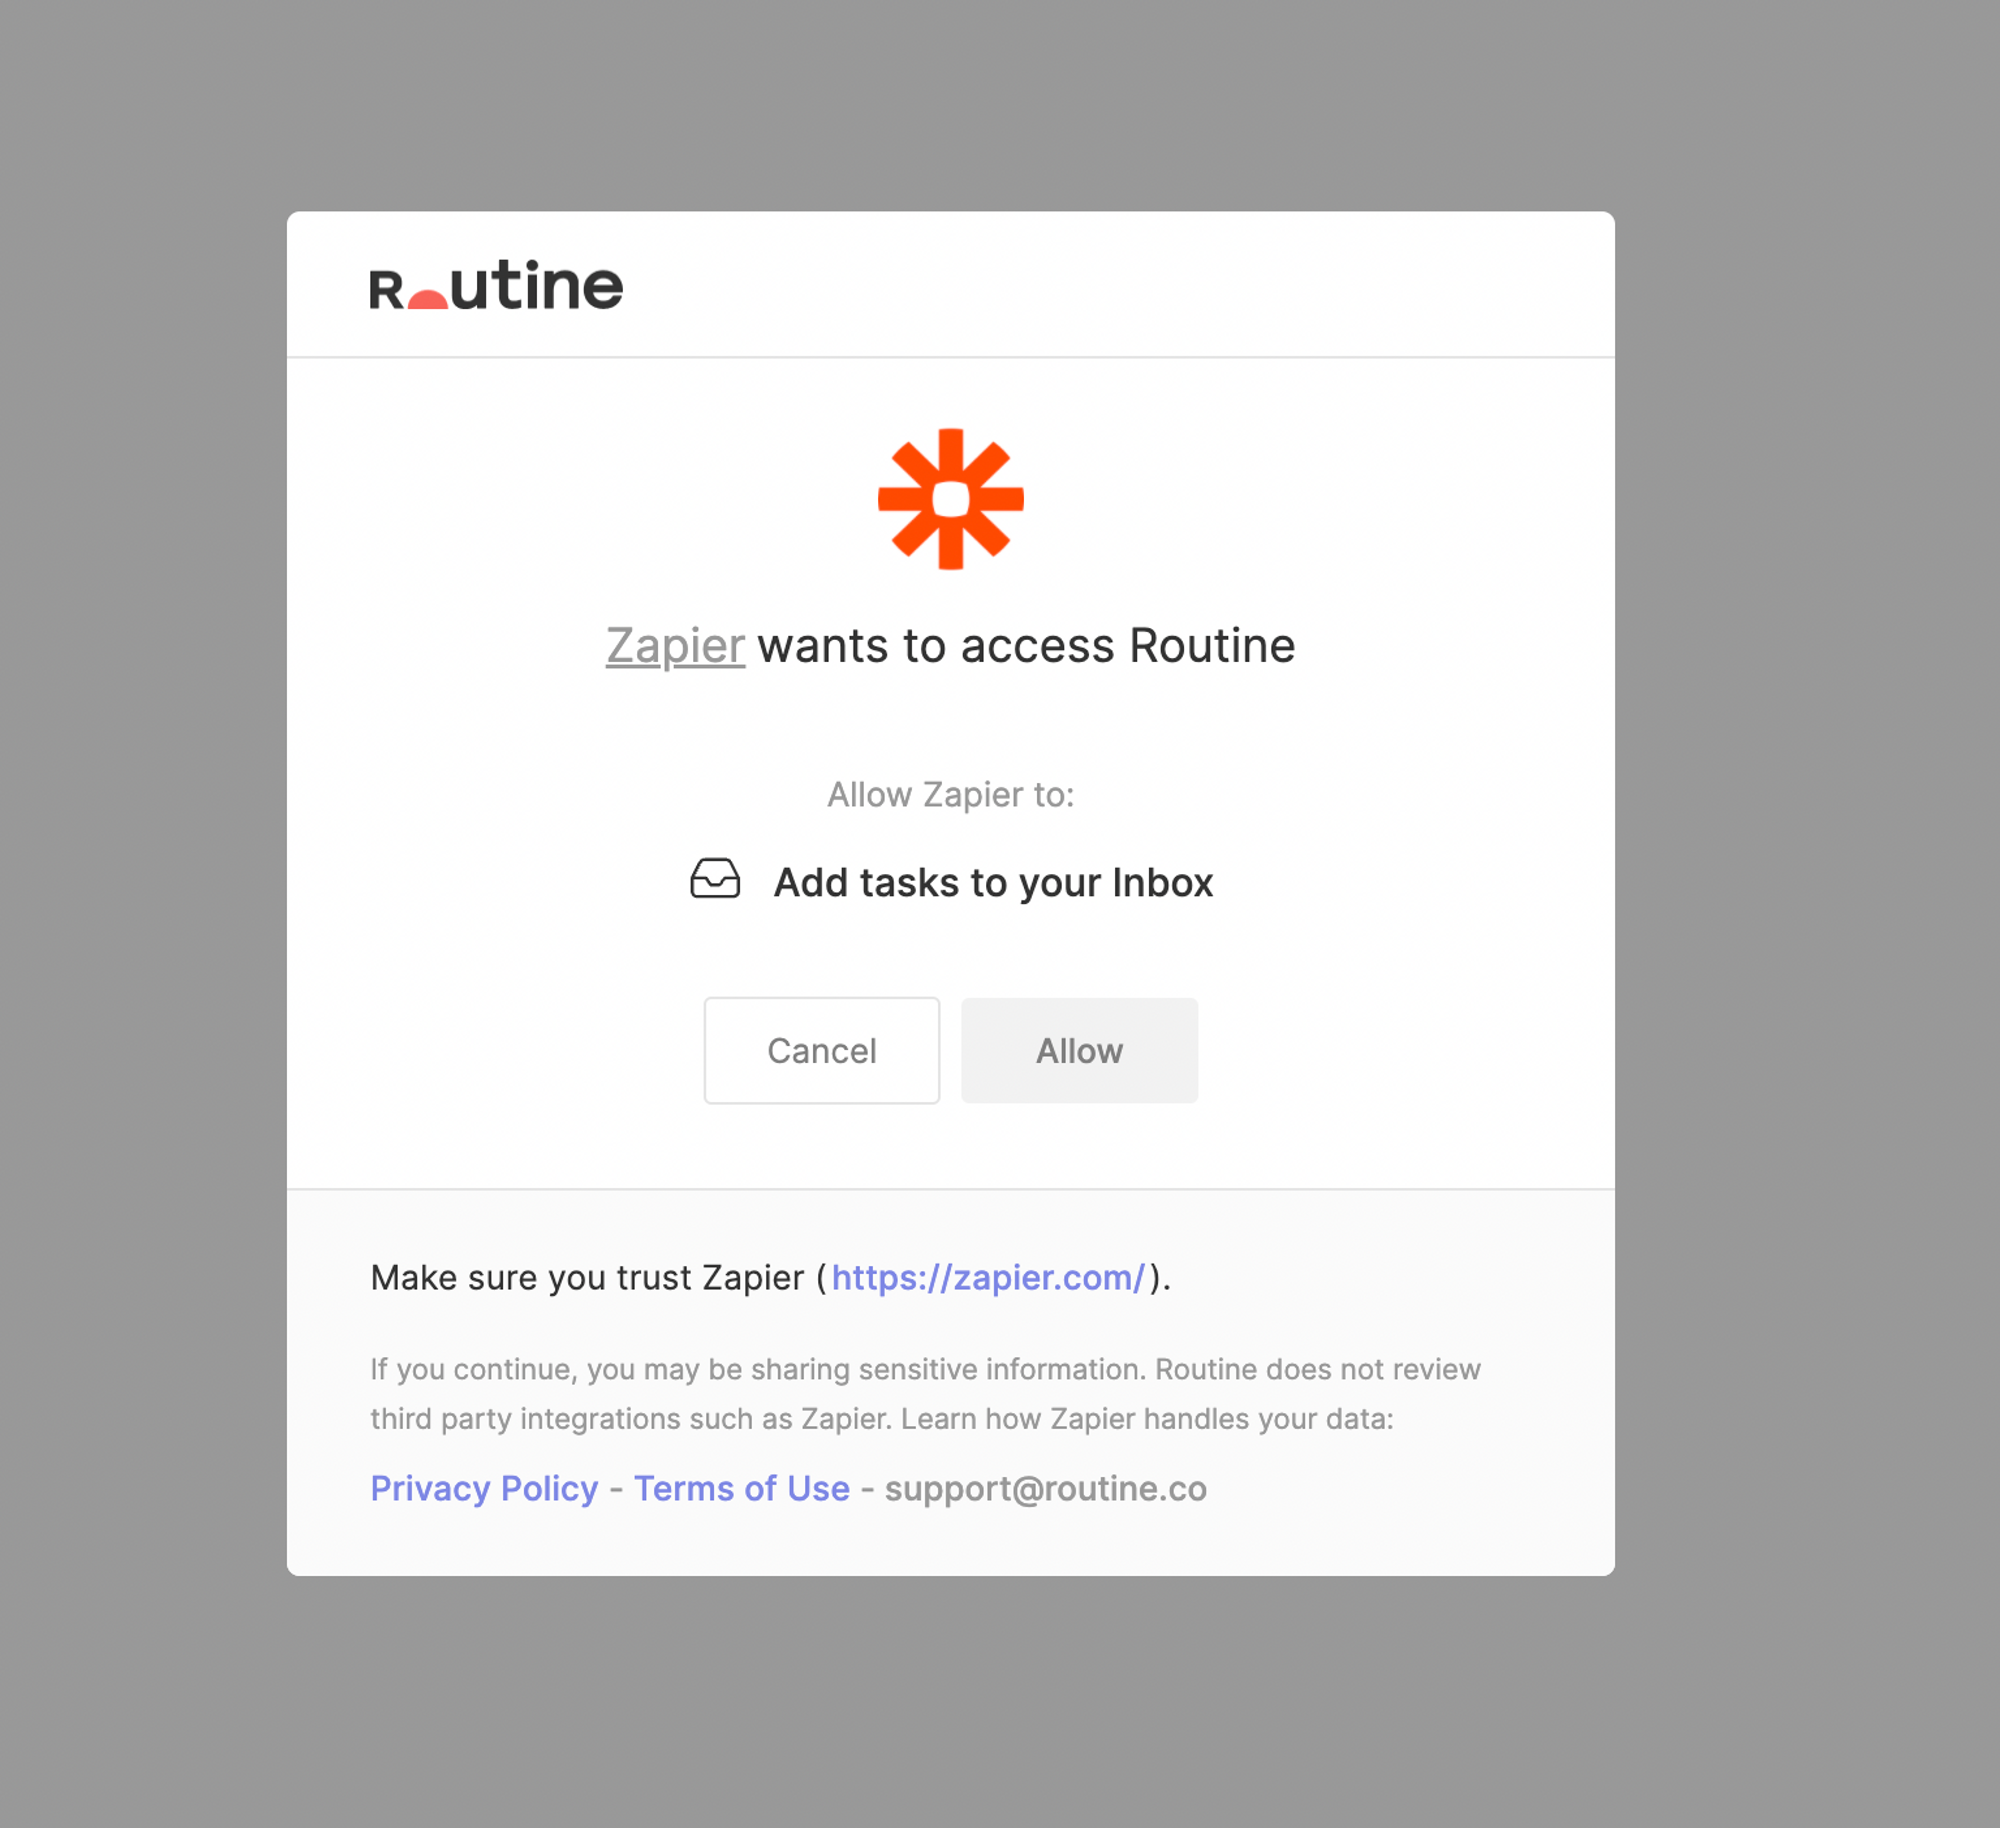
Now that you have connected Zapier to Routine, select your Routine account and continue the process
Next, let us define the properties of the task to create in Routine:
Task Name: the name of the task to create
Origin URL: this property is optional but is useful to easily go back to the original item that was converted into a Routine task e.g an email
In the context of starring emails we will use the subject as the task name and the unique URL to the email as the origin URL.

As the final step, you can test your Zap
Go to the Routine app’s and you should see your test email appear in your Inbox
Finally, turn the Zap on to become active and turn all your starred emails into Routine tasks.
